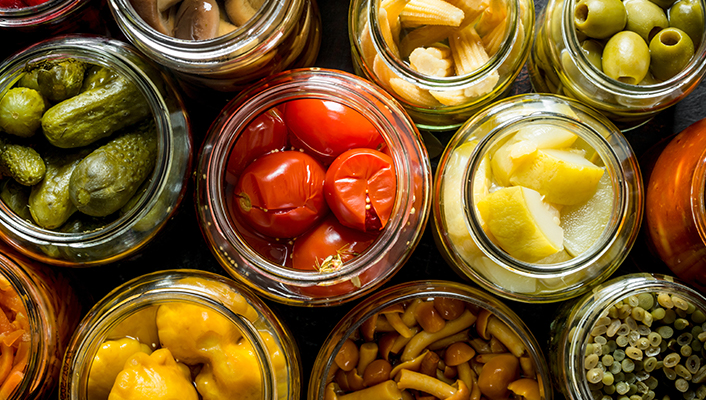
If you’re lucky enough to have a garden, you know that there’s nothing quite like fresh vegetables. But what do you do with all of those vegetables when they’re ready to harvest? Canning is a great way to preserve your garden vegetables so that you can enjoy them all year long.
Canning is a process of sealing food in jars or cans so that it can be stored for long periods of time. When done correctly, canning can preserve the taste, texture, and nutritional value of your food. Plus, it’s a great way to reduce food waste.
There are two types of canning: water bath canning and pressure canning. Water bath canning is best for high-acid foods like fruits and pickles, while pressure canning is necessary for low-acid foods like vegetables and meats.
To get started with canning, you’ll need some supplies. First, you’ll need jars and lids that are specifically designed for canning. You can find these at most kitchen stores or online. Make sure to get the right size jars for the type of food you’re preserving.
Next, you’ll need a boiling-water canner or a pressure canner. A boiling-water canner is a large pot with a rack that holds the jars off the bottom of the pot. A pressure canner is similar, but it also has a lid that seals tightly and has a built-in pressure gauge. Pressure canners are necessary for preserving low-acid foods.
You’ll also need some basic kitchen supplies like a large spoon or ladle for filling the jars, a small funnel for getting the food into the jars without making a mess, and some tongs for handling hot jars.
Once you have your supplies, it’s time to get started! The first step is to wash your jars and lids in hot soapy water. Then, sterilize the jars by boiling them in water for 10 minutes. Keep the jars in hot water until you’re ready to use them so that they don’t break when you add hot food to them.
Next, prepare your food according to your recipe. Once the food is ready, use your funnel to fill each jar, leaving about ½ inch of headspace at the top of the jar. Headspace is necessary so that the food has room to expand as it heats up during the canning process.
Once all of your jars are filled, it’s time to process them using either the boiling-water method or the pressure-canning method. With both methods, you’ll need to heat up water in your canner before adding the jars. Make sure there’s enough water to cover the jars by about 2 inches.
For boiling-water processing, simply add your filled jars to the rack in your canner and lower them into the boiling water using your tongs. Process pint jars for 10 minutes and quart jars for 15 minutes at altitudes up to 1,000 feet above sea level; if you live higher than that, consult a canning guide for specific processing times.
After processing, remove the jars from the pot using tongs and place them on a towel or cooling rack until they’re cool enough to handle. You’ll know they’re sealed if the center of the lid pops down when pressed lightly with your finger; if it pops back up again, it’s not sealed and will need to be reprocessed or refrigerated and used within 2 weeks. Once sealed, store your canned goods in a cool, dark place for up to 1 year; after that time, they may not be safe to eat anymore.